The first day of class, I was excited, not sure what the class would bring or how it would be, but definitely looking forward to it. After introductions, we gathered together to discuss jewelry, art, design, and creativity. Then we were given our first assignment. Each of us was given a little packet and told we had to use two different items in the packet to make whatever we wanted. We could use the two items together or separately. The only additional material we could use was wire. And we were allowed to use tools. This is what the packet contained:

OK, I can do this, I thought. I decided to use the playing cards first, envisioning a design where I cut them into strips. drilled holes in the stacks of strips, and held the strips together with wire. Did I mention that it was around 11:00 am and we had a deadline of 4pm? It took a bit of fiddling and fussing, but I managed to get a decent bracelet concept done. It is no where near a finished piece, but I like the idea and the instructor really liked the subtle play of the designs printed on the cards that was slightly visible on the strips.

So, I start to work on the second piece and decided to really challenge myself and use the plastic cutlery. What was I thinking? I began cutting it up into little pieces thinking I could make a mosaic using a bottle top and some white craft glue. Then I remembered that we could only use wire. At this point the fork and knife were cut up into little pieces. I guess I could have shoved them under the napkin and selected something else, but I kept going.
I decided to encase them in a wire structure and started with a spider web type form. That did not work because the spoke-type wires are further and further apart as you work from the center out and would not hold the little pieces. So, I began creating this structure that looked like a tangled birds nest. It held the pieces but was not tall enough to completely encase them.
So, I started adding more wire. Do I need to say that this was not going well and all I could think about was the clock ticking? You know how it is when a train wreck starts unfolding and you keep doing more and adding more stuff to stop it and all it does is accelerate the inevitable? That’s what happened with this piece. I got it done but knew it was a mess.

The instructor and I discussed it, looking at elements that worked and those that did not. There was still a bit of time left in the day (we got an extension to 5:30pm) so he suggested I try something else. I decided to do so and chose the poker chips. I drilled them off center and began creating a wire-wrapped choker style necklace. I did not complete all of the wire-wrapping but felt proud I could even see a direction to go with the poker chips.

Overall, it was a good day because it loosened us all up, got us thinking totally out of the box, and got everyone ready to work with both traditional and non-traditional jewelry-making supplies. This post would not be complete without mention of the jewelry and small sculptural pieces my classmates made, some of which were truly amazing.
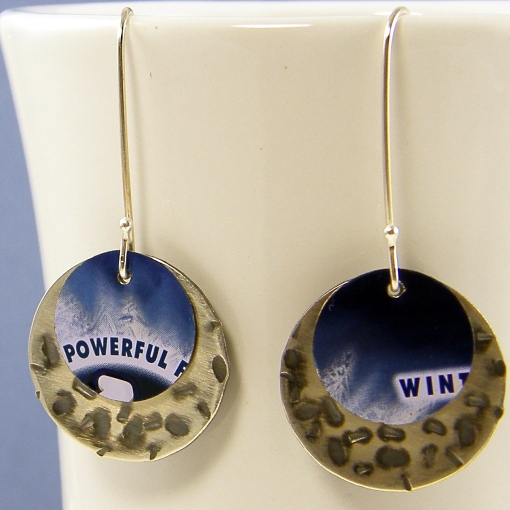
 I like a certain mint and it comes in a little tin. Once the mints are gone, the tins just don’t look like something that should be thrown away – they look useful, they look open to the idea of being reinvented. So, I’ve been saving the empty tins, not sure how I would use them or what I would do with them, until now.

 Yesterday in class we were shown gorgeous examples of tab settings. I had not tried them before and was excited about exploring them. Bob (our instructor) showed many variations of tab settings, all so beautifully done both in design and workmanship. I know I won’t have time to explore all of the variations presented while here at Penland. I will be able to carry it into my work when I return home.
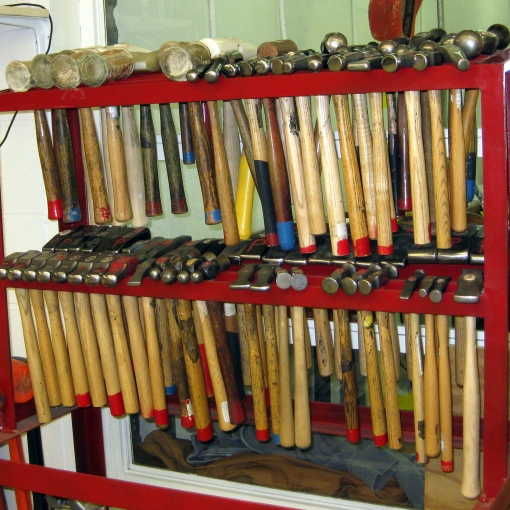
 At this time, I have eight hammers in my personal hammer collection so I am no where near being able to touch this collection. I ordered a planishing hammer when I got back. I am also looking for a tiny ball peen and a tiny cross peen. If anyone knows a source for these, please let me know. My smallest ball peen is a two ounce hammer and I am looking for one even smaller if I can find it.


 I have been waiting for the 2009 Penland catalog to arrive and it came yesterday. I got email from one of my classmates (Lower Metals 2008 ) that hers arrived last week. I hoped that it would come on Friday. Then, for sure, on Saturday. Well, it finally came yesterday and I am so excited. I really believe in life-long learning and work hard to improve my skills and grow as an artist. Penland is such a wonderful environment to learn in. I would encourage any artist, artisan, or craftsperson who can to take a class there.


