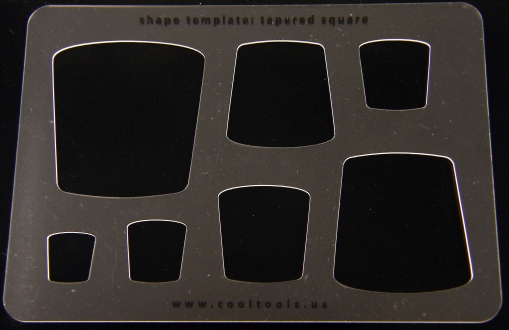
 Making jewelry from metal sheet means drafting or sketching the items out on paper first. Templates can be very helpful in this process. However, most of the ones I’ve seen are either basic geometric shapes or shapes geared towards office uses. I was so pleased to find templates designed for jewelry at Cool Tools. They have several to pick from and the setting for this necklace was designed using one of them. They are a great find, the only thing I wish is that they had little tic marks indicating the enters of each shape both vertically and horizontally.
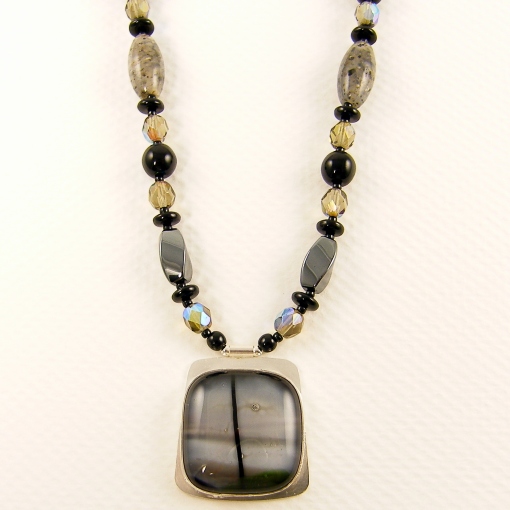
The necklace – it was inspired by a beautiful gray glass button. I thought it was so gorgeous it deserved to be the focal point in a necklace and I sawed the shank off and set it in silver. I then used a complementary palette of gray and black beads to accentuate the pendant.
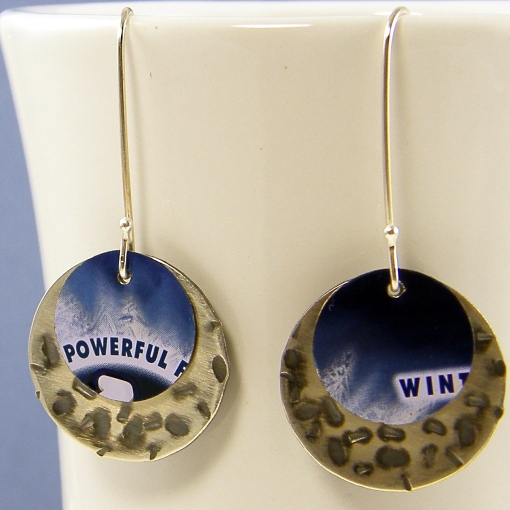 I like a certain mint and it comes in a little tin. Once the mints are gone, the tins just don’t look like something that should be thrown away – they look useful, they look open to the idea of being reinvented. So, I’ve been saving the empty tins, not sure how I would use them or what I would do with them, until now.
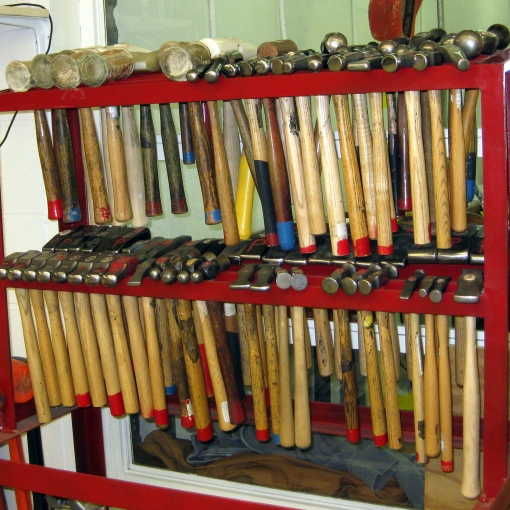 At this time, I have eight hammers in my personal hammer collection so I am no where near being able to touch this collection. I ordered a planishing hammer when I got back. I am also looking for a tiny ball peen and a tiny cross peen. If anyone knows a source for these, please let me know. My smallest ball peen is a two ounce hammer and I am looking for one even smaller if I can find it.
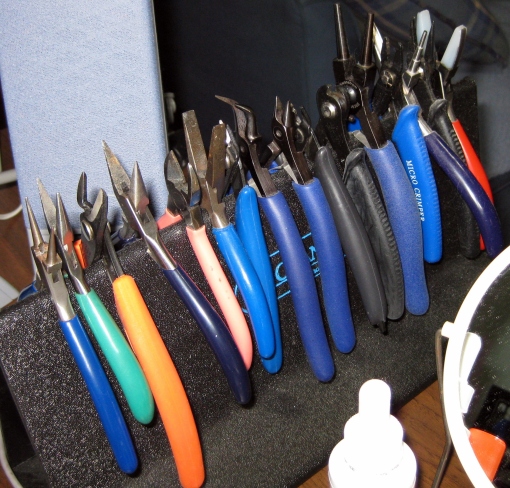 These are my pliers – I use them for beadwork, wirework, and metal. When I first starting beading, I only had two pair of pliers and one cutter. Over the years, as I sought to learn new techniques or finish pieces in a different manner, I acquired more. There are a few general purpose ones and some that are designed for a certain task.